Showing posts with label drugstore. Show all posts

Tuesday, February 4, 2014

Maybelline Dream Smooth Mousse Review

Here is one of those reviews I promised! I bought the Dream Smooth Mousse foundation by Maybelline at Ulta around Christmas time. I don't usually use a foundation because I knew how hard it can be to find the right one! lol With winter in full swing though, I also knew that my skin was probably going to start looking terrible. I couldn't have that this year! So I try to do lots of moisturizing and such to keep the dry flakes away. It doesn't help at all that I also have oily spots too though. I did a lot of internet research to try to find the best drug store foundation I could that I thought would work for my skin. I quite like this one after trying it a few times. You should be able to find this under $10 at places like Walmart, Walgreens, Ulta, etc. Foundations can be hard to review... everyone's skin is different and we all have our preferences too!

Before applying my face makeup, I always use moisturizer and a face primer. I'd say this is a medium coverage foundation. I will also say that a little can go a long way. I use my Real Techniques buffing brush to apply this. I just dab it a couple times in the foundation and then dot that lightly on some various spots on half of my face. Then I start to buff away. I'll repeat the same process on the other side of my face and then again on my neck. You really don't need a lot of this product to see it work. It goes on very easily and smooth. The texture is super creamy and it blends out very well. I had a terrible skin day this morning... super red and splotchy! This covered it up great and I liked the way my skin looked. It did a good job of covering the redness and hiding my large pores. I put a mattifying powder on my t-zone just to make sure that I wouldn't be getting oily.

I think this is a good foundation for people with dry skin in the winter season. To me, it feels pretty light on my skin too. It has decent lasting power. I think the shade selection could be a lot better. There really isn't that many to choose from. I settled on Nude Beige. I do feel like it comes off a bit... yellow? As I said before, it covered up the redness of my skin and helped to hide the large pores. It really did create a near flawless looking finish for me. I don't think I would use the sponge to apply the foundation. I feel like it would probably go on too thick. You might want to test a few methods and see what works best for you! This foundation seems perfect for me and I will probably be repurchasing it. I might try a shade lighter just to see how much of a difference it makes.  I give you a 5 out of 5, Dream Smooth Mousse! Even if you are more of a cream than a mousse. lol

Wednesday, January 22, 2014

Freeman Charcoal & Black Sugar Mask

This is another review of a Freeman Beauty mask! I've also posted about the Freeman Avocado & Oatmeal Clay Mask and the Queen Helene's Mint Julep Clay Masque. Check them out too! This is the Charcoal & Black Sugar Facial Polishing Mask. I've only ever used clay masks before, so I thought this could be a bit interesting! The big tube (6 oz) is priced at only $3.99 and the smaller packages (.5 oz) were $1.37 each at Walmart, but $1.99 on their website. And again, I have combination dry/oily skin which can be slightly sensative since I am fair skinned. :)

On the package: Polution…debris…it's a wonder skin can breathe! This unique mask and scrub works double time to detox skin. First, naturally purifying Activated Charcoal helps absorb oil and impurities without over-drying. The, Black Sugar helps exfoliate away dulling skin cells for softness and clarity. Perfect for all skin types.

Directions: Apply mask to face and neck, avoiding contact with eyes. Leave on for 5 to 7 minutes. Rinse with warm water. Gently massage for 1 to 2 minutes and rinse with warm water.


Unlike with my clay masks that I use a brush to apply, I used my hands for this one. It was kind of difficult to spread around since obviously the texture isn't smooth, but grainy from the sugar! lol The smell was quite nice though. As you can see in the pictures below, it goes on quite chunky. Also unlike the clay masks I've used, you only leave this one on 5 to 7 minutes instead of the 15 to 20 minutes. You can see that under the mask my skin is a bit red... that is because this mask heated up my skin! I wasn't really expecting, but it wasn't unbearable. If you have really sensitive skin, this might not be for you. I can have sensitivity to some skin care products being a strawberry blonde with fairer skin. It was a little uncomfortable, but I waited it out and I liked the results I got in the end. :)


In these next pictures you can see what happens after you massage the sugar scrub for a couple minutes. I added a bit of water to my hands to make it easier to move the scrub around since it had dried a bit. Then I removed the mask with warm water over my sink. Once I rinsed, I was very happy. lol My skin felt so soft and clean! I didn't even have to put on moisturizer like I usually do with the clay masks. I felt the wonderful effects for days and I'll be glad to do this one again!

If you ever feel like your skin needs a deep clean and you don't mind a mask that heats up, this could be a great and very cheap option for you. I think it was a pretty interesting, but good experience for my first non-clay mask! My next mask is a paper one which I have never tried before either. lol That should be interesting too. After that, I think I will make a trip back to Walmart so I can try a few more. :)

Wednesday, November 6, 2013

Kiss Nail Dress: Apply & Review

I received this package of Kiss Nail Dress nail stickers in my Varsity Vox Box from Influenster! I thought I would do a quick review on them since I tried them out today. :) You get 28 stickers in each package. It also says that there are 14 different sizes so they fit all nails. You also get a small nail file and booklet telling more about the designs and how to use the stickers. The design I got includes pink with black dots and then black with pink dots. They have shiny little round "stones" on the bottoms too. These can be used on finger nails and toe nails. Price wise, I think they range from $6.99 to $10.99 depending on where you re buying them from.


These nails aren't really like the Sally Hansen ones that I have tried before. These nails are thicker and not really foil like as are the Sally Hansen ones, which are real nail polish. I'm not sure what these ones are made of. They aren't hard to peel off the plastic sheets at all. After finding one that fit my nail, I had to try to place it properly and smooth it out as flat as possible. Some nails were harder than others to smooth out and align properly. This kind of thing takes patience. lol Once you have the sticker laid down as neatly as possible, it's time to file the excess off. Bend the sticker over the end of your nail like I am showing in this photo.


I used the rougher side (blue) of the file in quick little motions straight across the tip of my nail. I think that if I would have moved in the up to down motion, I would have ended up peeling some of the sticker off. This method worked for me and the tips of my nails stayed neat and covered by the sticker still. Then I used the less rough side (pink) to smooth out the tip of my nail again and get other little pieces of sticker left overs off. This part was quicker and easier than actually applying the sticker for me! lol


I still had some places on the edges of some nails that weren't covered by the sticker. I'm sure to avoid this I could have gone a size up and cut them to fit, but I was too lazy! lol Feel free to try it though! :) There were also a few nails with little ripples on the tips. Some came out after I gently used a nail on the other hand to pull upwards and get the little air bubbles out. Others were little creases that I couldn't remove. These little nicks only bug me at a very close inspection though. The nails overall look really cute and neat.


 As for the little booklet inside, it goes over the directions once more and also shows more of the available sticker designs. On the back, it shows that you can cut the stickers and make your own custom designs. What a great idea! I might have to try this with the left over stickers from this package.

Here is one hand finished! I like how they came out and I am interested in trying these again. The package says they last up to 10 days and you just have to peel them off when you want to remove them. After washing some dishes and a shower within 24 hours, they were still stuck on really good. After 4 days, the tips really started to wear down and I began to peel some off. They come off rather easily, but some left a little sticky residue. Nothing some polish remover can't fix. I was using my hands pretty often... always typing, feeding my many rabbits and cleaning my mess of a room. lol So with lighter use, I am sure they would last a little longer. I would still recommend these for others to try. They are pretty fun! I also recommend trying out the Sally Hansen ones. They look great and last a long time. :)

Queen Helene Mint Julep Masque

One of my current favorite face masks is Queen Helene's Mint Julep Masque. I bought mine at a Dollar General for I believe $2.99 or $3.99. Either way, it is a great deal for the 8 oz tube of mask! This is a clay mask just like the other mask I reviewed (Freeman Avocado & Oatmeal Mask). I will mention again that I have combination skin that can be pretty sensitive, I have struggled with acne for quite a while, and I also have large pores and redness.


Instead of making a mess on my hands, I applied the mask with my e.l.f. foundation brush ($1) and rinsed it when I was done. After my shower and cleansing my face, I applied a thin layer of the mask all over my face and down my neck a little. The mask is a light green color and smells like mint. As a warning, it can make your skin tingle a little. The consistency is thick. It is quite a bit thicker, in my opinion, than the Freeman Avocado & Oatmeal mask I recently tried. Keep the cap shut tightly so this doesn't dry out.
Here are pictures of my sorrowful pores and red, dry skin. Yucky!


After applying the mask, let it dry for 15 to 20 minutes. Look at these crackles! As with the other mask, you can see my pores too. I used a washcloth to rinse my face with warm water. My face felt squeaky clean and soft. It does a great job on the spots where I get oily. My face is matte and no longer shiny. It does slightly dry out the skin (might be different for oily skin), so I used a little of my For Goodness Face moisturizer by Mark on the dryer areas of my face.


Here is my face after the mask was washed off.
My skin is smooth, soft, less irritated looking and my pores were smaller than before.

I would recommend this mask to anyone who wants to minimize their pores while getting a fresh, clean face with this relaxing mask. As mentioned, people with dry areas might want to use some moisturizer. :) I am already half way done with this tube and I know I will be repurchasing this!

Wednesday, October 9, 2013

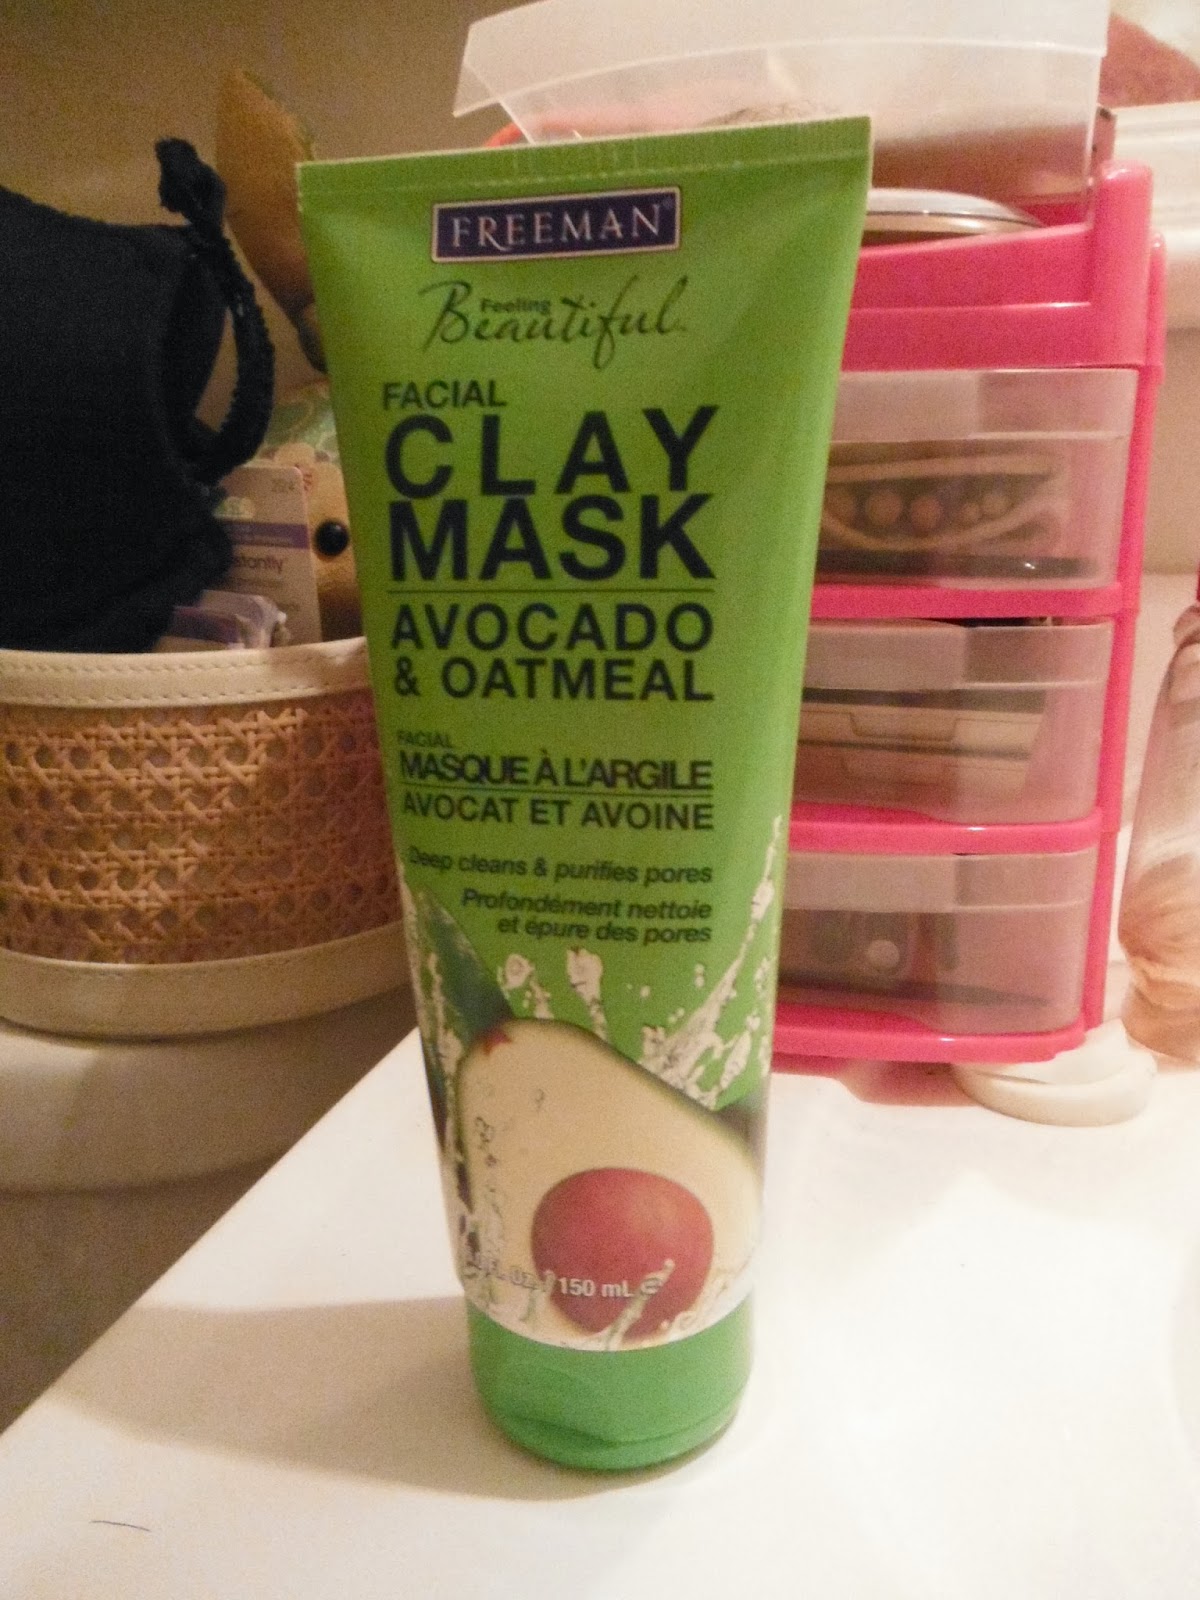
Freeman Avocado & Oatmeal Clay Mask

I didn't start using masks until just last year! I don't know what I was waiting for. The first mask I ever purchased was Queen Helene's Mint Julep Masque. I bought it at a Dollar General, but I have seen it at a few other places as well. It's really cheap, only $3 I think. It got me hooked on trying masks! I will give a review on it after trying more Freeman Beauty masks! So, skin background... I have combination skin that can be pretty sensitive (thanks to being a fair skinned strawberry blonde) and I have struggled with acne for quite a while. I also have large pores and redness that I despise.

I recently went to Walmart in search of facial masks by Freeman Beauty. They have quite a few kinds! After watching and reading some reviews online and visiting the Freeman Beauty website, I decided on a few I wanted to try. Pictured below is the one I am reviewing right now, Avocado & Oatmeal Clay Mask, as well as two others I wanted to try, Charcoal & Black Sugar Facial Polishing Mask and the Blue Agave Hydrating Paper Mask. I also included the Queen Helene mask in the photo that I mentioned above. I'll review the others as I try them! :) The big tube (6 oz) was only $3.27 and the smaller packages (.5 oz) were $1.37 each. I could only find three of the masks in the larger tubes at the store, but most of the other masks were available in the small packs.


The back of the package says: "Nourish and purify with one amazing mask! Rich clays dive deep to purge dirt and oils from pores. Nutrient-rich Vitamin E, Avocado and Oatmeal moisturize for lasting skin softness. Skin looks and feels squeaky clean and is soft to the touch. Perfect for normal to combination skin."

The directions read: "Apply mask to face and neck, avoiding contact with eyes. Let dry and rinse with warm water. Use two times a week or as often as needed."


Instead of making a mess on my hands, I applied the mask with my e.l.f. foundation brush ($1) and rinsed it when I was done. After my shower and cleansing my face, I applied a thin layer of the mask all over my face and down my neck a little. The mask is a light green color and smells like most oatmeal products I've used... very yummy. lol The consistency is pretty thick, but it didn't seem as thick as the Queen Helene mask. It was easy to spread around my face with the brush.


After about 15 minutes, the mask was completely dry. I have a closeup here to show how how weird it is that it allows you to see all your pores! lol They are soaking this stuff up! As the mask dried it didn't burn, but had kind of a cooling sensation. It is very hard to show emotion when the mask is dry since you skin feels tight... as shown in the other photo!


I used a washcloth to rinse my face with warm water. My face felt squeaky clean and soft. It does slightly dry out the skin (might be different for oily skin), so I used a little of my For Goodness Face moisturizer by Mark. I also noticed that a few bumps on my chin that were painful before using the mask, felt soothed once I rinsed it off. I will continue using this once a week (after trying the other masks) and see if it helps with my acne any. Yay for refreshed pores!

So far, I recommended this mask to anyone with oily or combo skin who wants a simple clay mask that gives you a deep clean and soft to the touch skin. Using a mask like this can be quite relaxing and refreshing! I would advise a little moisturizer though if you feel it has that slight drying effect on your skin like it did mine. It's been over 24 hours since I used the mask and my skin still feels so good. I wish it felt like this every day! I should have taken a before picture, but I was so excited that I forgot! Next time!

Sunday, October 6, 2013

Haul: First Impressions

First, I will start by saying that all my hauls are usually pretty small! lol At the most there would probably be about 5 items. :) This haul is from my trip to Walmart last night. It all started because I painted my nails and forgot I didn't have any more top coat... after choosing my top coat, I thought it would be a great idea to look around some more... why do I do this to myself??? Anyway, here are my first impressions! I will probably be back again within a few weeks to review them all fully. :) I apologize for the blah quality photos. My Canon is dead and I used my mom's camera... which is not very good. lol

1. Sally Hansen Dries Instantly Top Coat - $3.97

I used another Sally Hansen base coat/top coat before and after a while it got very goopy and I couldn't use it anymore. It started to also ruin my nail designs by smudging them which ticked me off! I want to say it was the Hard as Nails one. I've liked other Sally Hansen products before though, so I thought I would give this top coat a try. Right at the get go, saying "instantly" makes me think... impossible. lol At that point I was thinking, even if it just dries rather quickly I would be totally satisfied! This bottle is 0.45 fl oz.
I applied it to my nails that were painted the day before, but I did touch up the edges of my nails with fresh polish. I always let it set for about 30 seconds before putting on a top coat. It is quite a thin top coat (which I like) and it didn't pick up any of the polish I used to touch up my nails. So I hope it never does when I try it on an entirely fresh paint job! We shall see! I'd say this dried pretty quickly. Probably in about 1 minute. It does leave a nice shine on my nails too. This top coat claims to do a lot of things... quick drying, anti chipping and smudging, strong glass like finish, UV absorbers protect against yellowing and fading... I will test this baby out a few more times and I'll get back to you!

2. Rimmel London BB Cream Beauty Balm - $6.99

I don't usually use liquid foundation on my face because I found that it was just too hard to choose one that works on my skin. I didn't want to keep spending money and not liking the product or color. I've tried a few tinted moisturizers with better luck though. I always do a light layer of a powder foundation and color correctors just to try and cover up my redness and such. I thought it would be a good idea to try a BB cream after hearing so much about them. To me it sounded like a "one stop shop" kind of deal. I could put this on quickly and get out of the house with a great looking face! After looking around on YouTube for reviews, I decided that this cream by Rimmel London would be a great place to start. This product is 1 fl oz. I got it on sale for $5.47. :) I got it in the color Light.

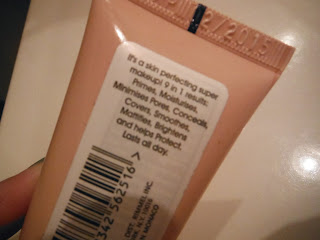
Rimmel claims that it's a 9-in-1 skin perfecting super makeup. Yes, please! It also has SPF 25 which is lovely because I have fair skin. The label on the back says it primes, moisturizes, minimizes pores, conceals, covers, smooths, mattifies, brightens, helps protect and lasts all day! I NEED ALL OF THAT. I have acne prone skin that is always pretty red, I have large pores and could use some mattifying and concealing. lol I tested it on my arm real quick to get a feel for it. It is nice a creamy and not globby at all. I rubbed it into my skin and saw results already. It has a nice finish on it. Made the skin look soft and glowy. It also covered up my red rimmed bunny scratches very well. So I am hoping that it can achieve the same thing on my face! lol I am really excited to give this a go. :)

3. Wet n Wild Color Icon Bronzer - $3.93

Winter will be here soon... and my decent tan from the summer will disappear... I couldn't pass up the good deal on this. lol The packaging caught my eye right away. It's huge and has a pretty sun imprinted in the power. I'm sold. I got this in the color Ticket to Brazil (739) and it is .46 oz.


The color is quite pretty. It seems to have a satin type finish on it. It's not crazy shimmery or totally matte. After I blended it out, I thought it looked rather nice on my skin. Gave it a bronze glowing look that I am sure to appreciate when I become horribly pale again. It has SPF 15 too. Yay for more sun protection! I think this will do the job I need it too.

Well, I think I picked out some decent items! I am excited to really put them to use. Like I said before, I will be back to do full reviews of them once I have gotten to know them better. I will also try to get some batteries for my Canon... ;-P